Habitat for Humanity Stores is a great place to find materials for any DIY project. You are only limited by your creativity!
In this post, we’ll explore how to take vintage picture frames and turn them into a beautiful wall gallery.
Protip: take a look at Pinterest for ideas :)
Step one: Stop by the Stores
Frames can be costly, but they don’t have to be. Each of our Habitat Stores offer a wide range of picture frames a fraction of the price one would pay at your regular retail store.
Keep-in-mind the pattern of the frame as it could conflict with the art you place in the frame. Also, check to see if there is any damage to the frame, if there is, be sure it can be covered by paint.
We came across 5 frames for this post.
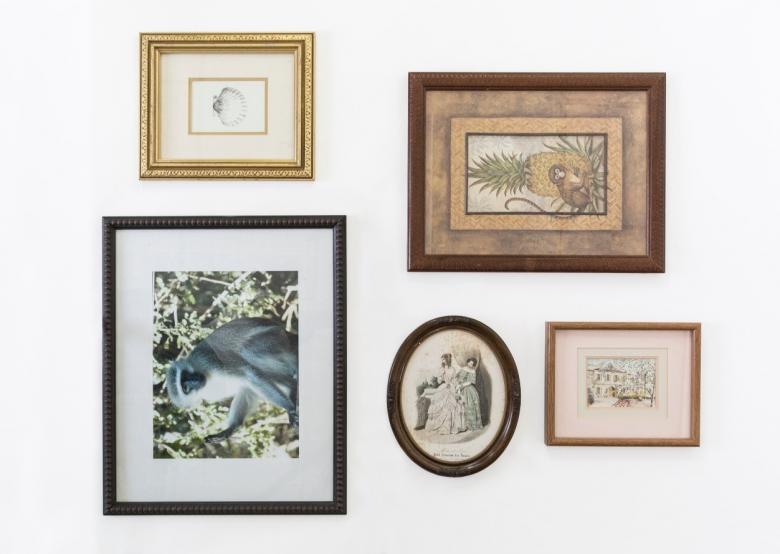
Step Two: Paint your Frames
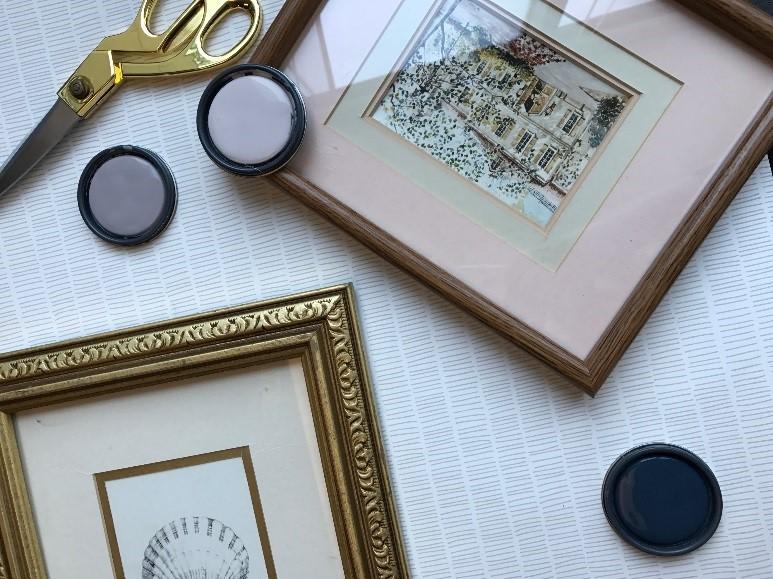
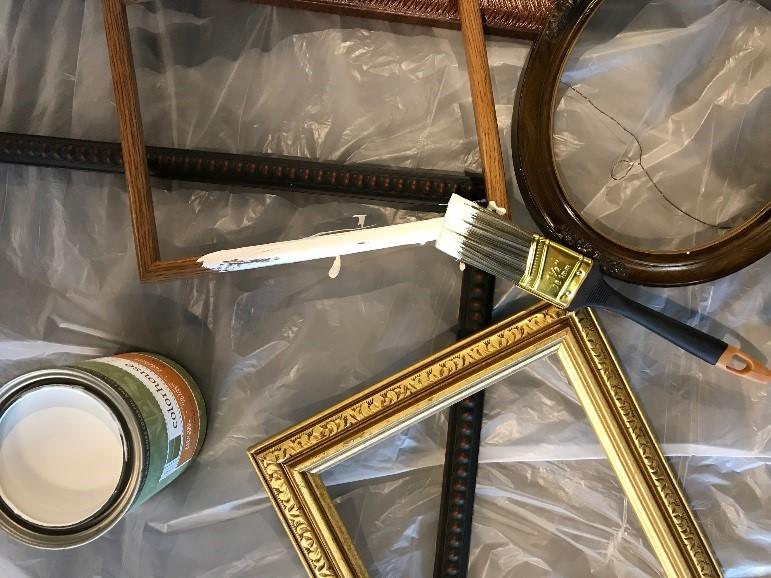
Find the right paint for your frames. We found a few on themine.com that fit exactly what we wanted to do. Choosing a color that matches your wall can add a minimalist feel to it while adding multiple colors will make it appear more modern.
Play around with what you like until you find the perfect fit.
Step Three: Pick your ArtWork
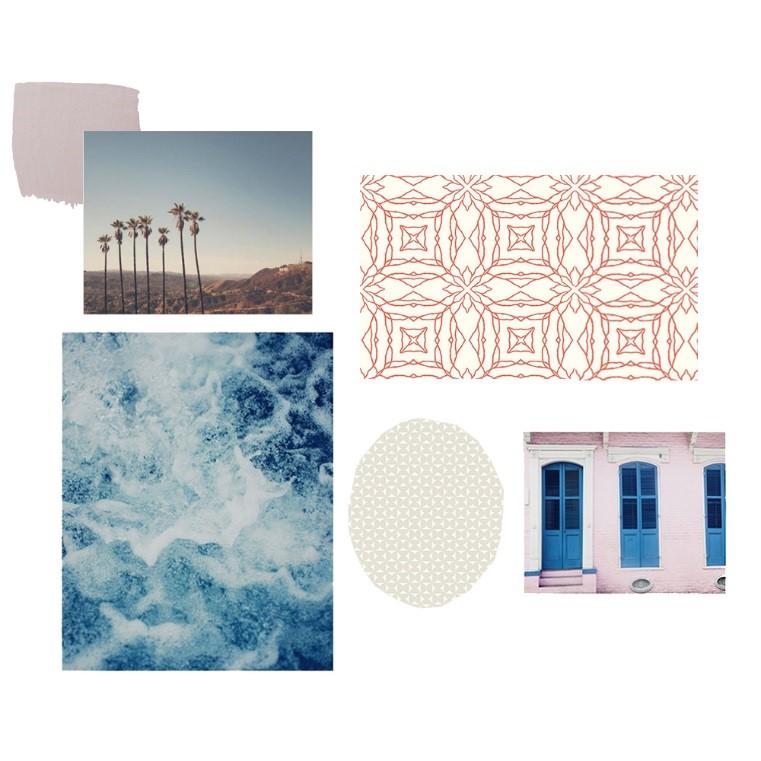
Find some of your favorite prints to put into the frames and personalize your gallery. Creating a mock on your computer can make it easier to visualize the finished project and give a better idea of what you want.
We took some wallpaper to add texture to our project.
Once the artwork is all picked out, its time to frame everything together.
Step Four: Plan your Gallery Wall and Install
Once your frames are all said and done. Plan out how you want them to look on the wall.
We found it to be easier to trace each frame on construction paper or even newspaper then laying it out on the wall give a better idea of layout and spacing.
Step Five: Enjoy your wall
Kickback and take in your newly crafted gallery.
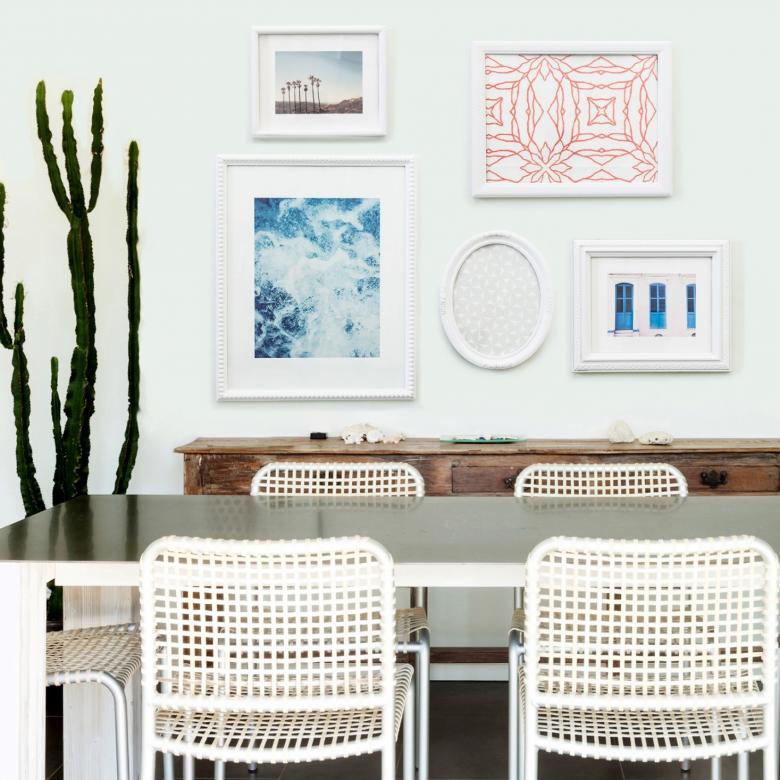
Easy fun and a great way to spend your Sunday afternoon. Every Habitat for Humanity Store can provide the materials for this fun little DIY project. Not to mention, you prevented these frames from going to the landfills :)